In the previous #19 issue, I shared my Photoset Framework — a method for building engaging, story-driven photo sets. In this issue, I want to rewind the clock and show you how that framework is transformed to life through the way I plan shoots from the very beginning. Because if I’ve learned anything, it’s this: pre-production isn’t the opposite of creativity — it’s the secret to nailing projects 9 out of 10 times.
Being bound by making work in a commercial sense can feel like it limits our creative freedom and outcome. But that doesn’t always have to be the case. Don’t let that stop you from applying these basics in getting the most out of each shoot to ensure personal gratification; otherwise, if it lacks the potential to be something fulfilling, you probably shouldn’t have taken on the shoot in the first place. Just apply a simplified or amplified approach by using the steps below.
Don’t let the commercial outcome change your personal objectives. How often do you think; a client has hired you, the deliverables are X,Y & Z, and I’m bound by these limitations. In all senses, you are, but there’s nothing stopping you from creating a body of work beyond those core photos. What work do you want to create that could result in more future work? Don’t ignore your obligations, but make it personal.
For example, an outdoor clothing company insisted that they only want close-up shots of their new jacket, and that’s totally fine, deliver on that—but what about your own fulfilment? Let’s say, your personal website. Plan this into your pre-production, use the photoset framework, sign off your deliverables, but ultimately, the pre-pro and photoset framework are the keys to walking away satisfied.
1. Define Your Narrative
Before gear, before locations, before anything — I ask:
What’s the story arc I’m trying to tell?
What feeling or moment do I want the viewer to walk away with?
Where will this set live? (Instagram? A pitch? Commercial assignment? My portfolio?)
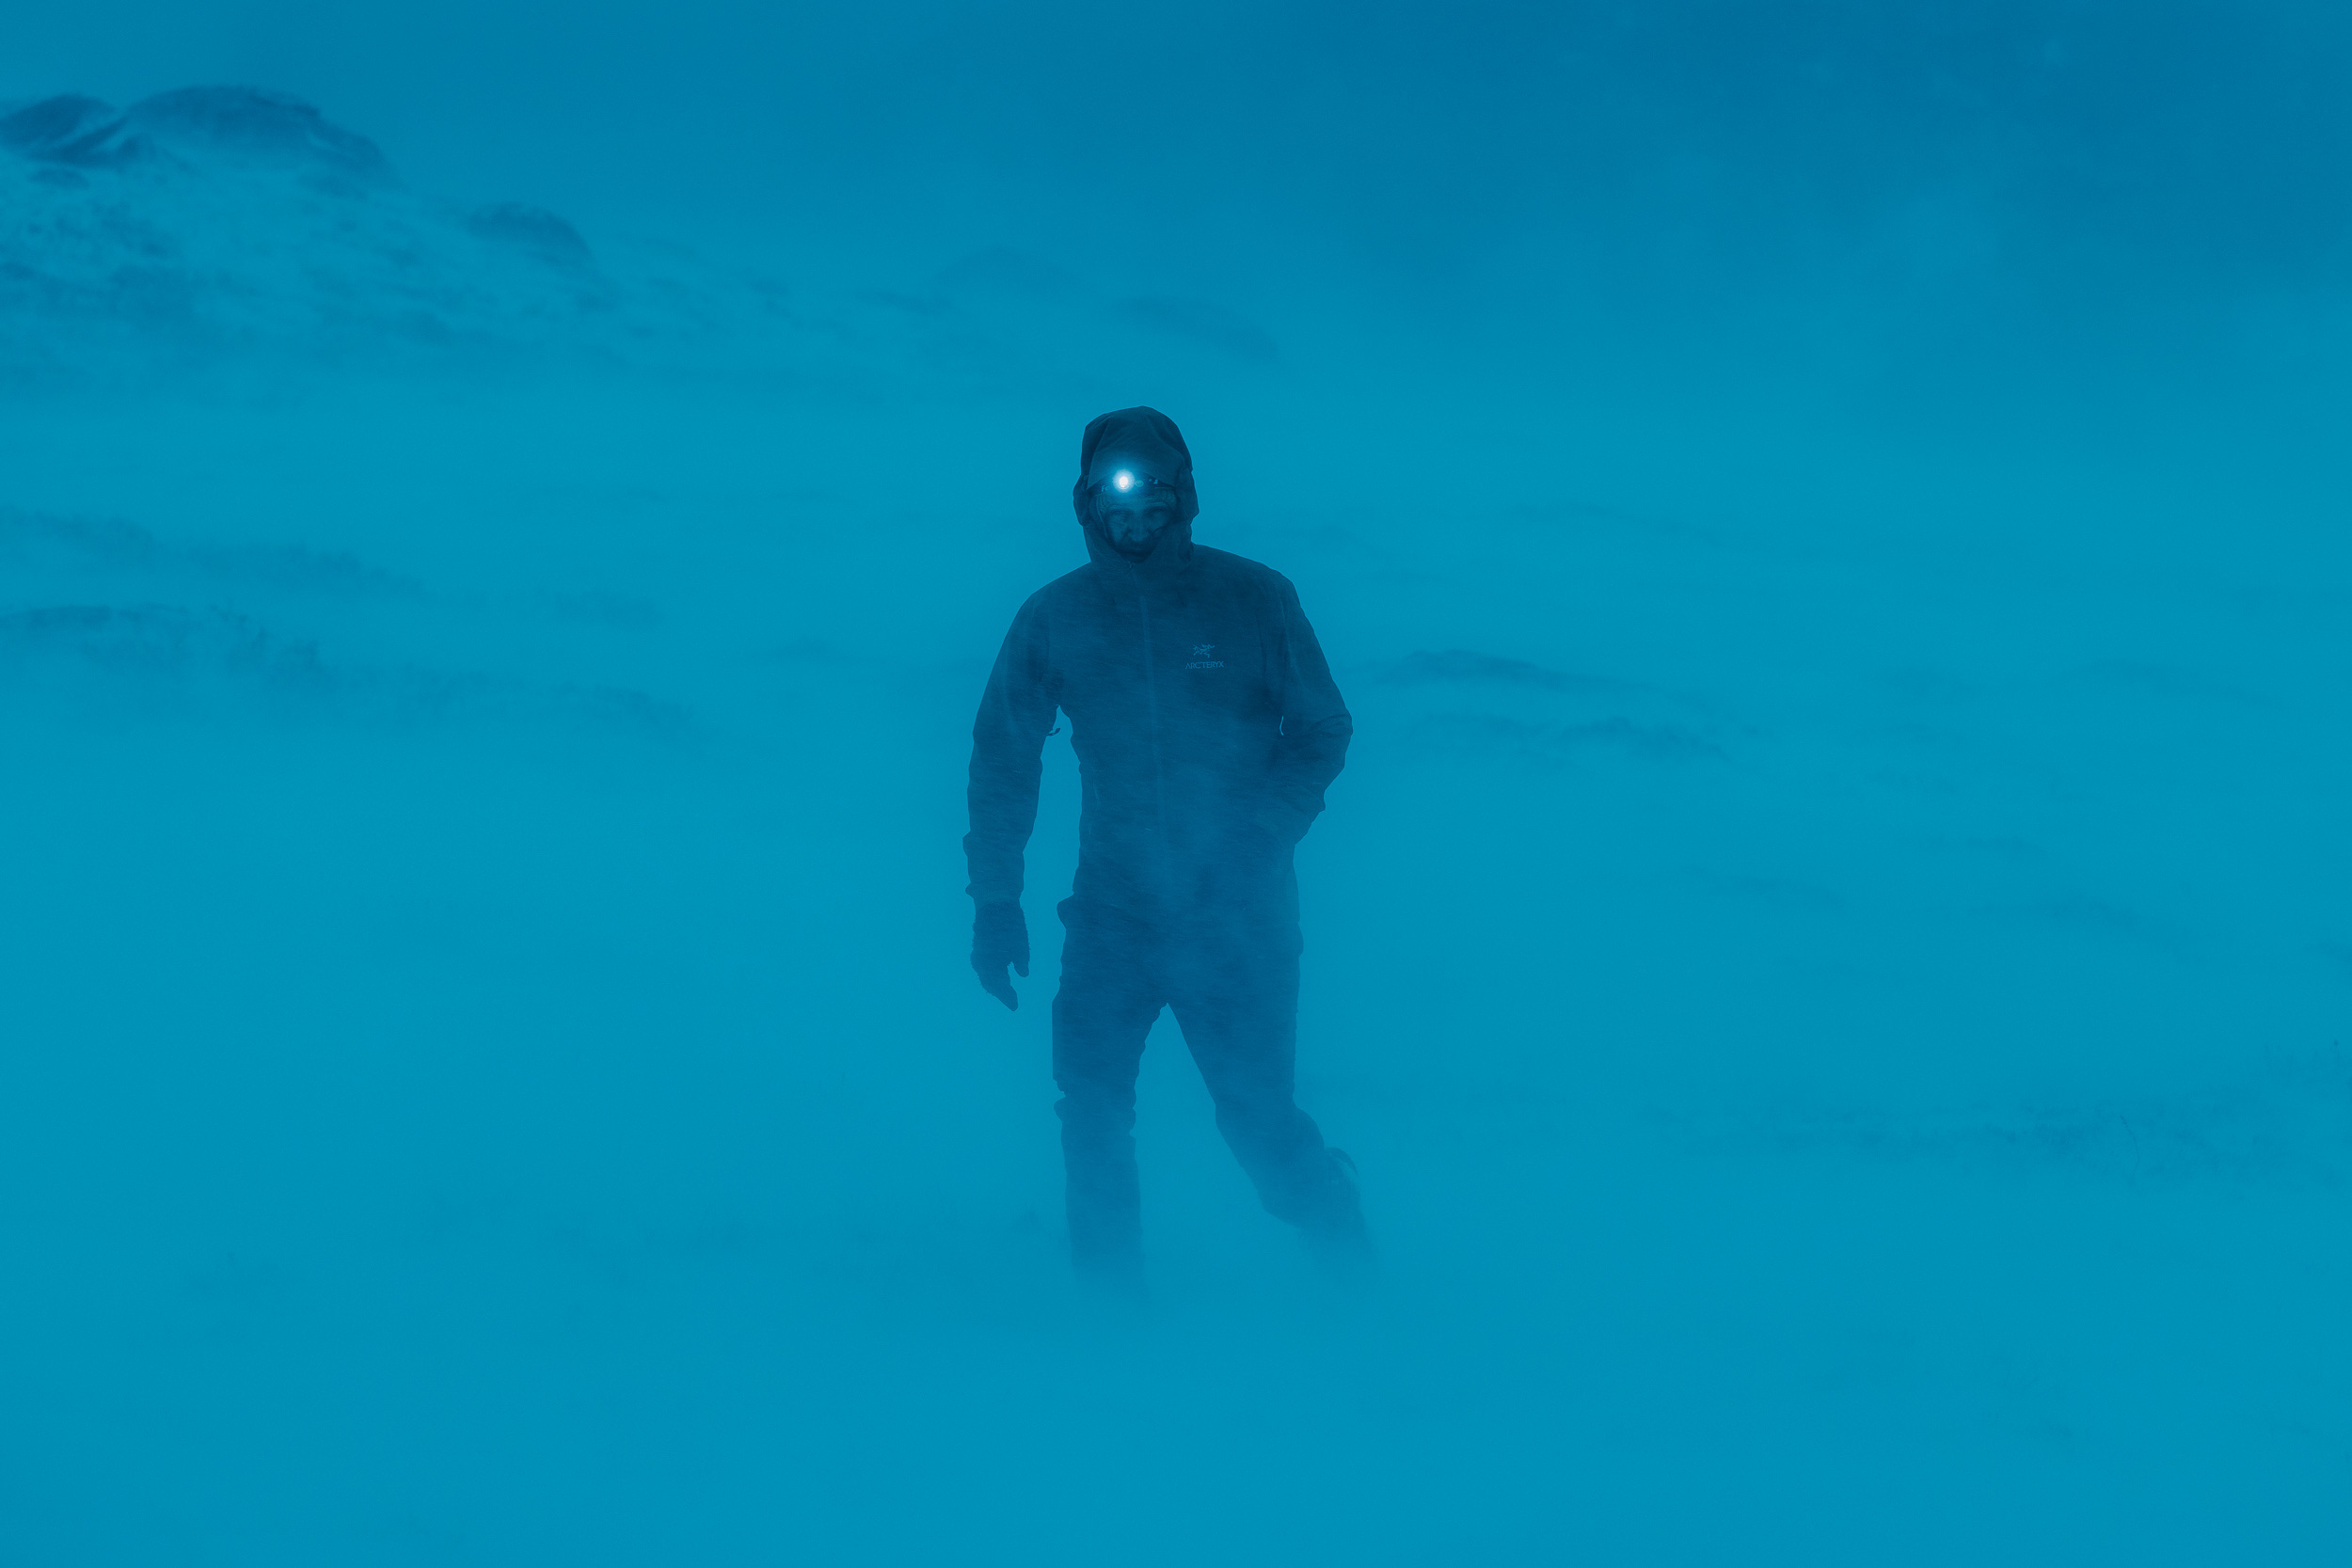
This part is simple, but crucial. Even a loose idea — “early morning fog on a solo hike” or “The first snowfall of winter” — it gives me an emotional compass.
Without it, I’m just collecting photos. With it, I’m telling something. Step 1 will give you creative direction and emotional tone.
2. Location & Activity
Steps 1 and 2 often go hand in hand, and if you find yourself switching them up, that’s ok. You may have already planned a summer holiday, then this becomes your first step.
Essentially, I break this step down into 3 parts.
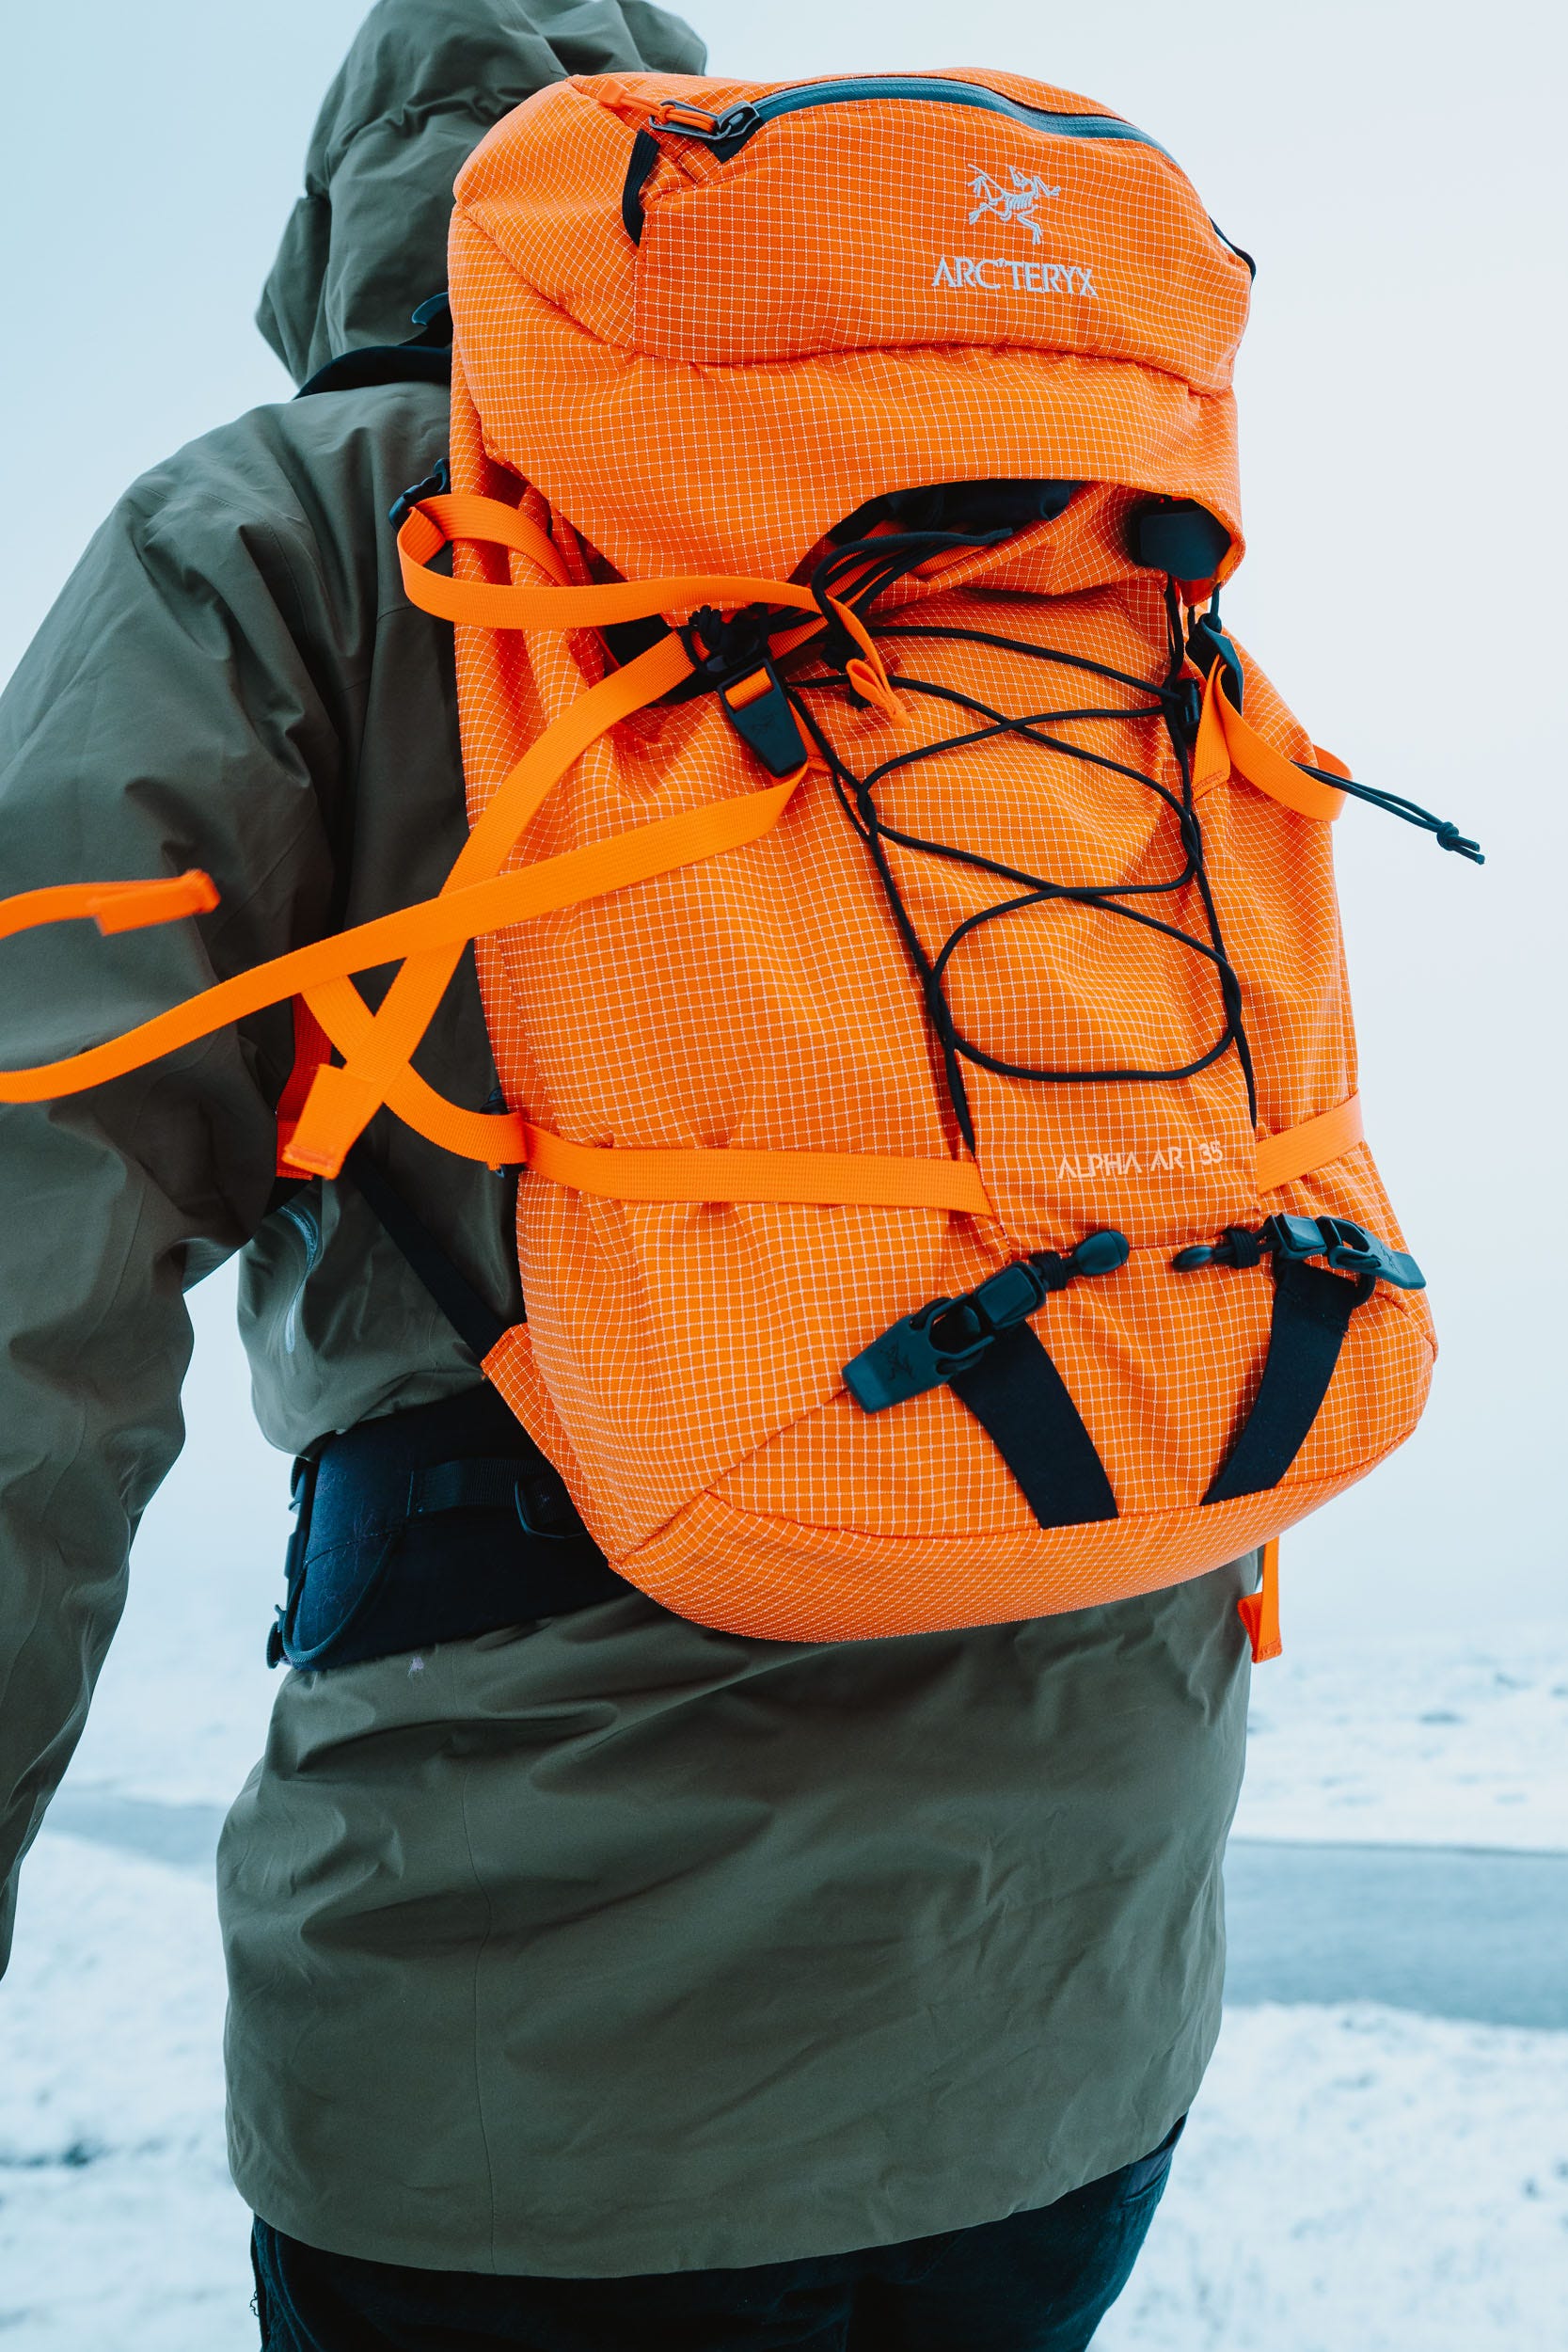
a) Ideal Environment - (warm or cold)
b) This helps me narrow down the location(s)
c) From there, I can pick an activity that suits that environment
3. Scout With Intention (Even Digitally)
You don’t often have the luxury of scouting in person, but if you do, I highly recommend it. Nevertheless, some great digital tools can help. Even with the rise of social geotagging in recent years, life has become a lot easier to scout. The real trouble is now in finding something untapped, unique and different. Strava has become a powerful tool with multiple layers. The avalanche layer is a game changer — knowing how light falls on peaks and valleys.
Things to consider:
Light direction at the time of day
Safety/access/weather

4. My Approach To Moodboards
Do I use them? Only for pitching to a client or informing a larger team (talent or friends).
Otherwise, I keep a basic plan in Notes or Notion on my phone. A couple of images, if need be, but mostly shot types in which I want to cover off in the shoot. More on that later.
To cover off everything moodboard-related, I’ll touch on it briefly, for the scenarios in which I may use them.
Keep it simple — this limits confusion. Think of them as Visual Targets.
The same rule is applied in pitch concepts. This ensures the idea will translate into the field. I’ve encountered some where it becomes too focused on making the images on paper, rather than being in the moment and bringing your vision to life. I typically try to keep it below 10-12 images max.
Alternatively, sketch a loose layout with stick figures. A method commonly used by Andrew Kearns, and one I rely on from time to time — especially when running solo or translating ideas quickly.
Pro tip: Images are for reference of lighting, general mood and composition, don’t make them a direct reference for subject matter.


5. Pre-Plan Your Story Blocks
Give yourself a shot structure, know your must-haves, but stay loose & allow room to experiment.
If you haven’t had a chance to read issue #19, The Framework I Use to Build Photosets, now would be a good chance. It will help to better understand the use of story blocks in full depth. Issue #19

A good habit with shot planning: don’t be exact. Doing so allows for a fluid structure. You know the story you want to tell—being fluid keeps it open to how to tell it.
Back to my basic plan that I mentioned earlier. Below is an example of how I’d lay out basic shot prompts. Nothing too specific, to allow that freedom, which will be a point later on. All this looseness has to add up somewhere.
My shoot list example—placed in Notes (with maybe an image or 2) that gives a guide to make sure I cover my must-haves.
Wide-angle, big landscapes with small people for scale
Body shots, product close-ups.
Portraits, silhouettes, back-lit
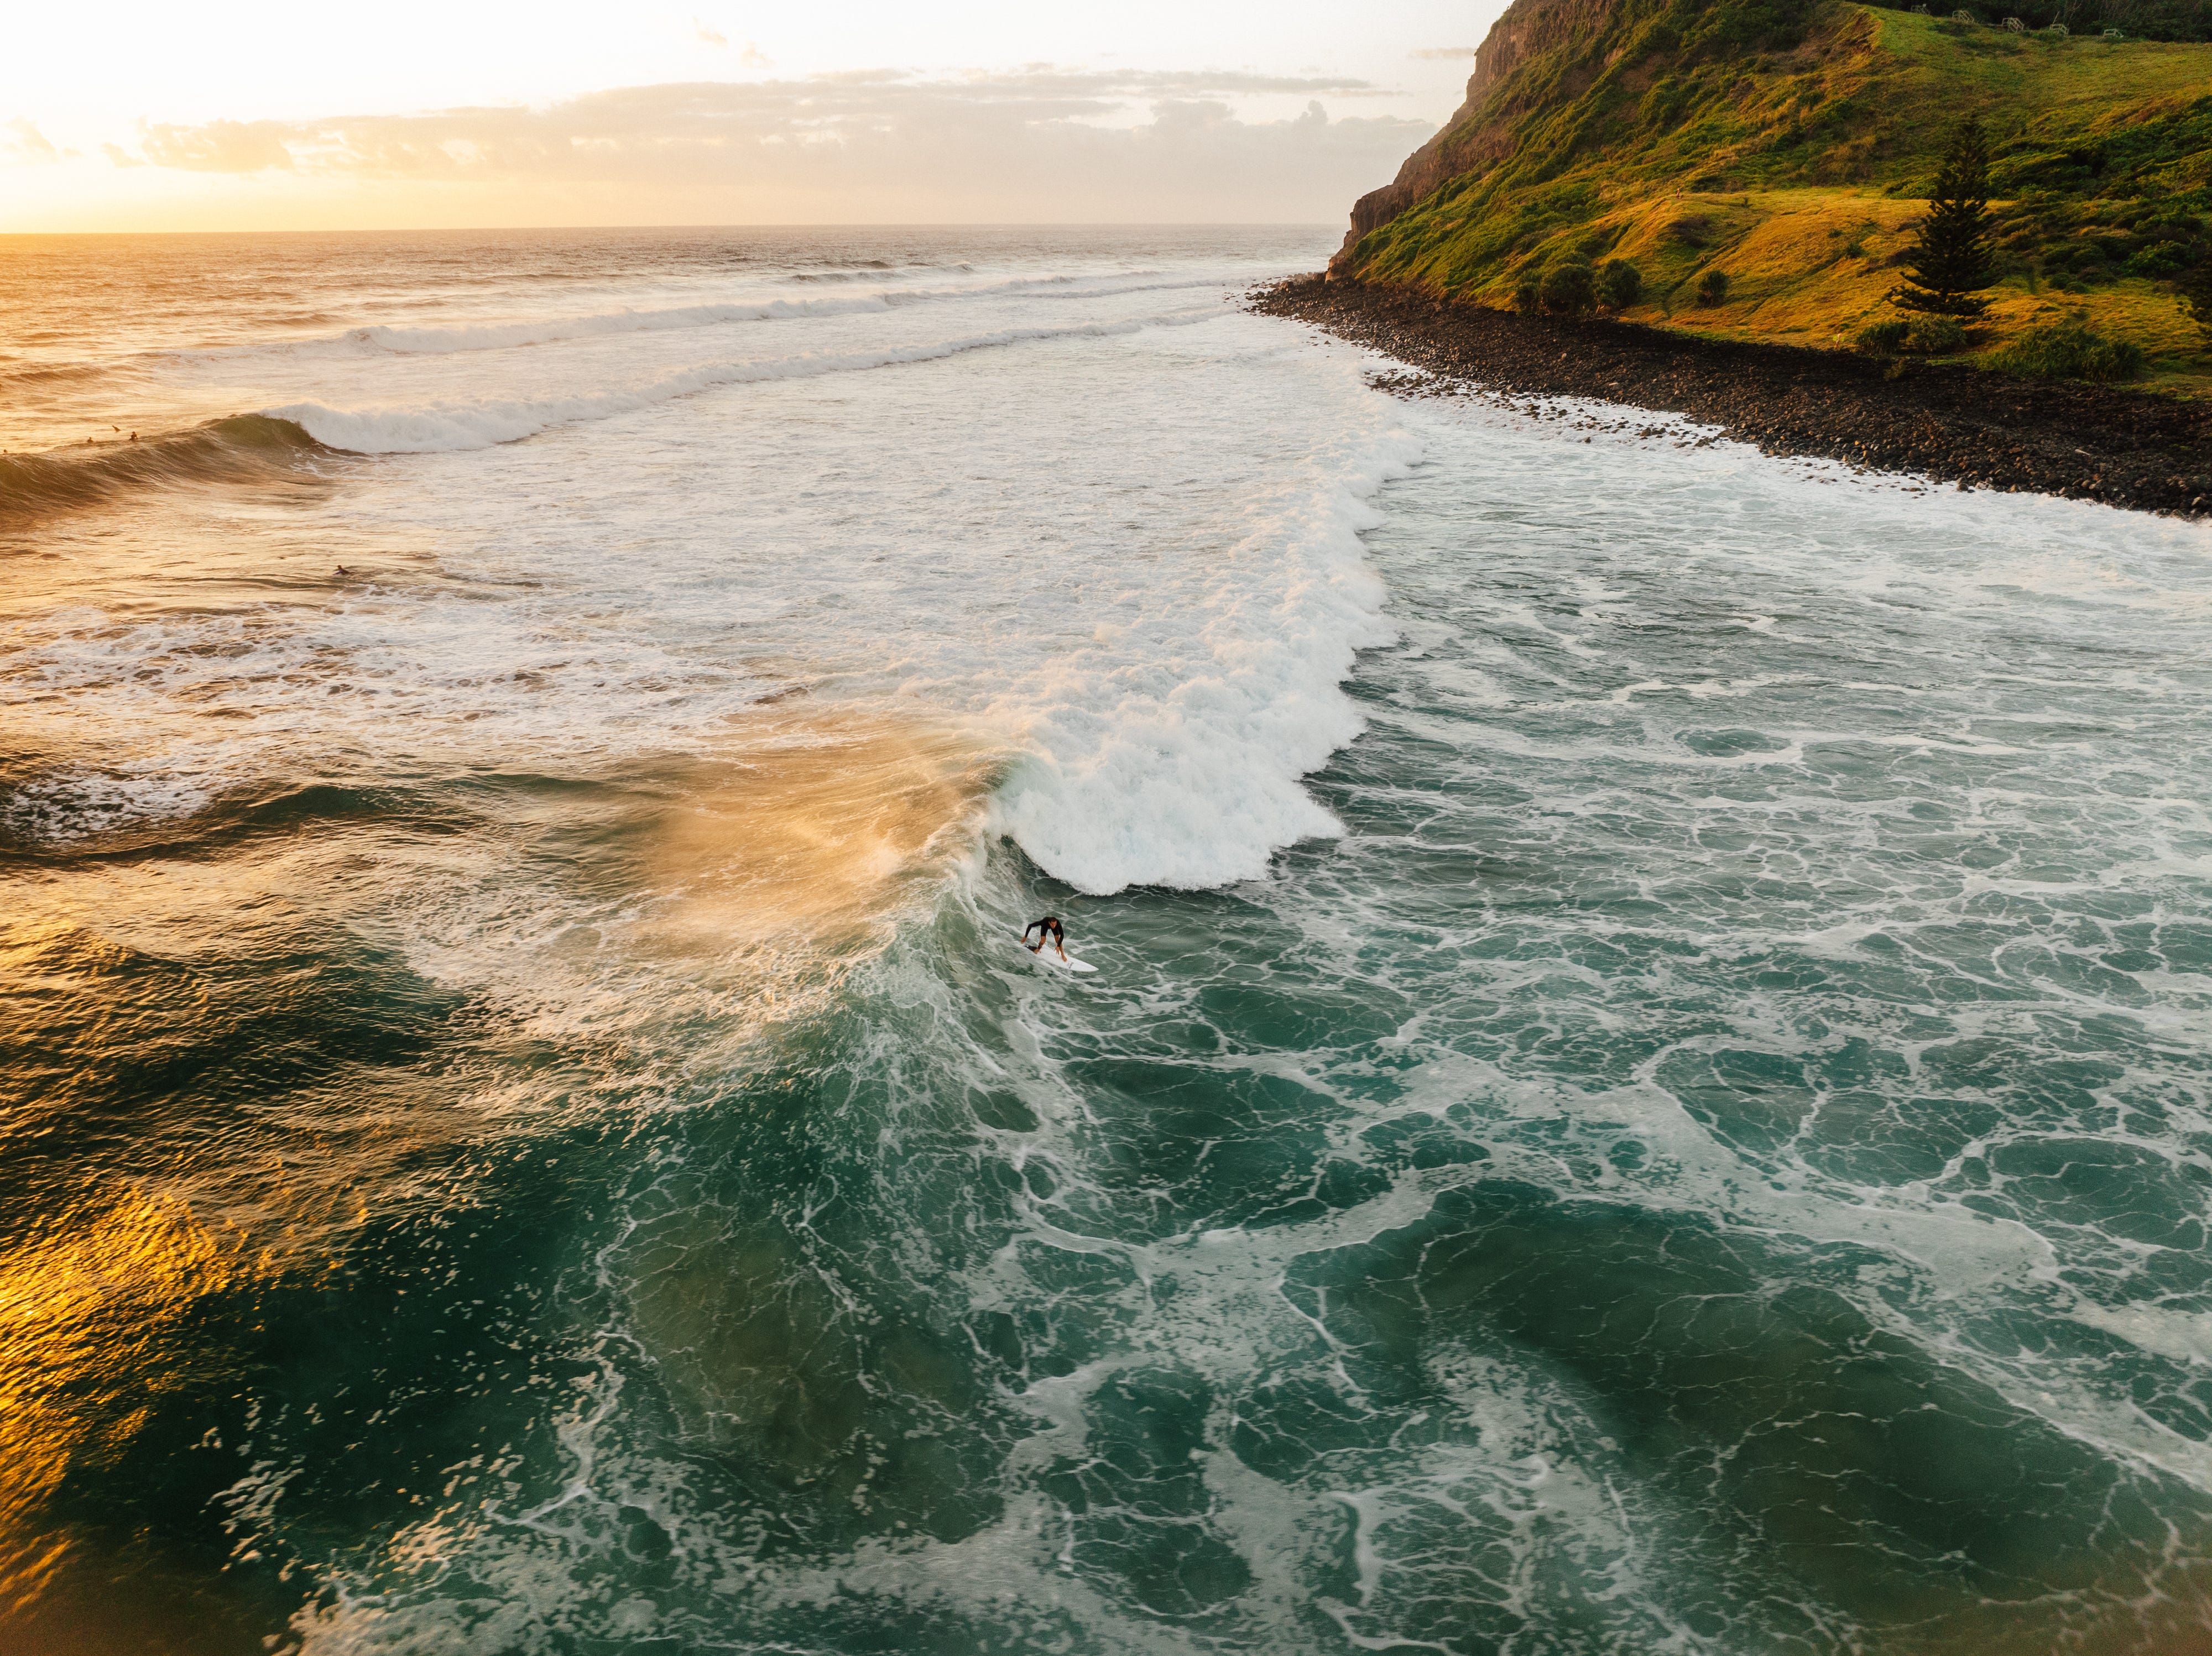
Action, movement, and slow shutter speeds, running, surfing. Energy shot!
Water drop details, land texture (location pending), snow falling, wave breaking, etc
When we get too specific — e.g., “Person sitting on a log with snowy peaks in the background, having coffee with a friend” — we can get too locked into the setup and miss the whole potential.
6. Creative Intention Prompts
Your own personal sense check. This helps you, not just shoot what’s there, but shoot what moves the story forward.
What tension, change, or importance am I capturing?
What’s the emotional peak of the set?
Where will the viewer “pause” in the photo sequence?
What doesn’t need to be photographed? This one will prove to be valuable, as we all know how easy it can be to get lost in the moment.


7. Backups + Failsafes, Have A Plan B
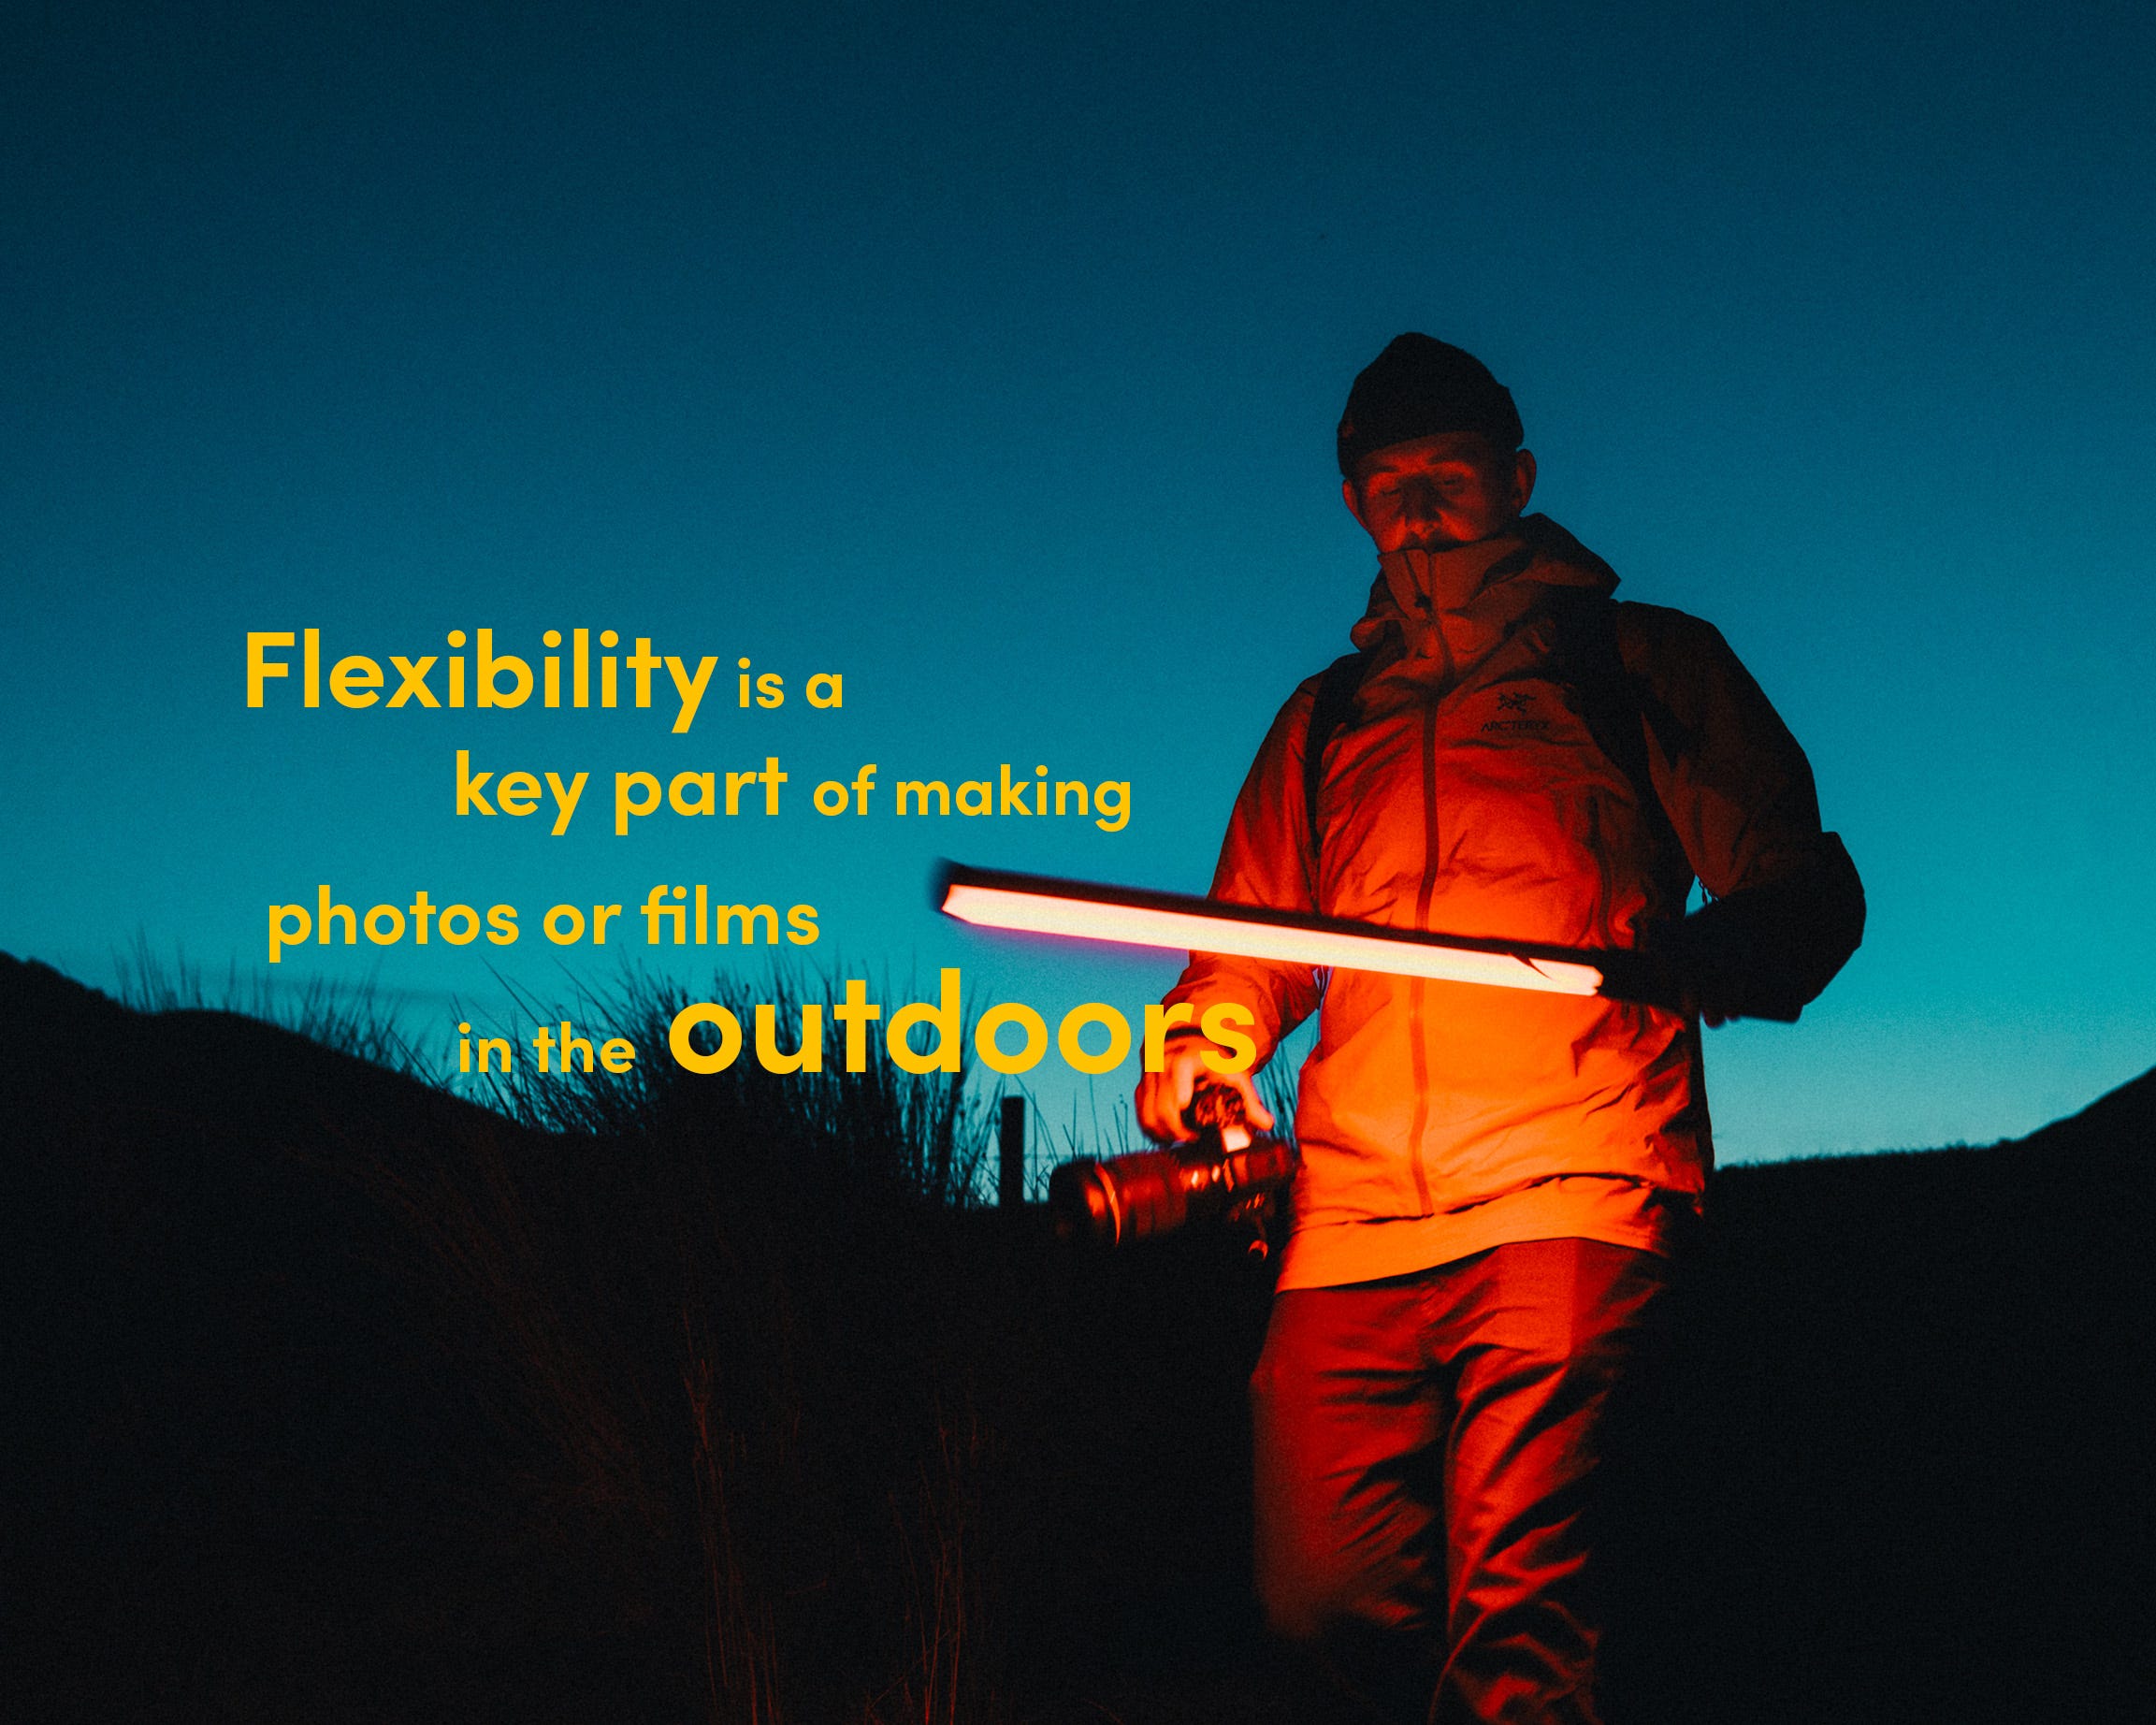
If I’ve learned anything, it’s that nothing goes to plan — and that’s ok. Embrace it.
All that looseness has finally added up in favour, and when the time comes to be flexible, it doesn’t feel like all is going to be railroaded.
What’s your Plan B? Or just know, in the back of your mind, that flexibility is a key part of making photos or films outdoors — then you’re on the right track.
The digital scout didn’t turn out as planned. What’s your backup location?
What’s your bad weather plan?
What’s your shot if people bail? Can I flip it to be a solo shoot with myself? Tripod/shelf-shoot
Bonus: Plan for Flow & Movement (Not Just Static Shots)
Photosets feel stronger when there’s implied motion — even in stills.
Plan 1–2 sequences where your subject moves through the scene
This might look like:
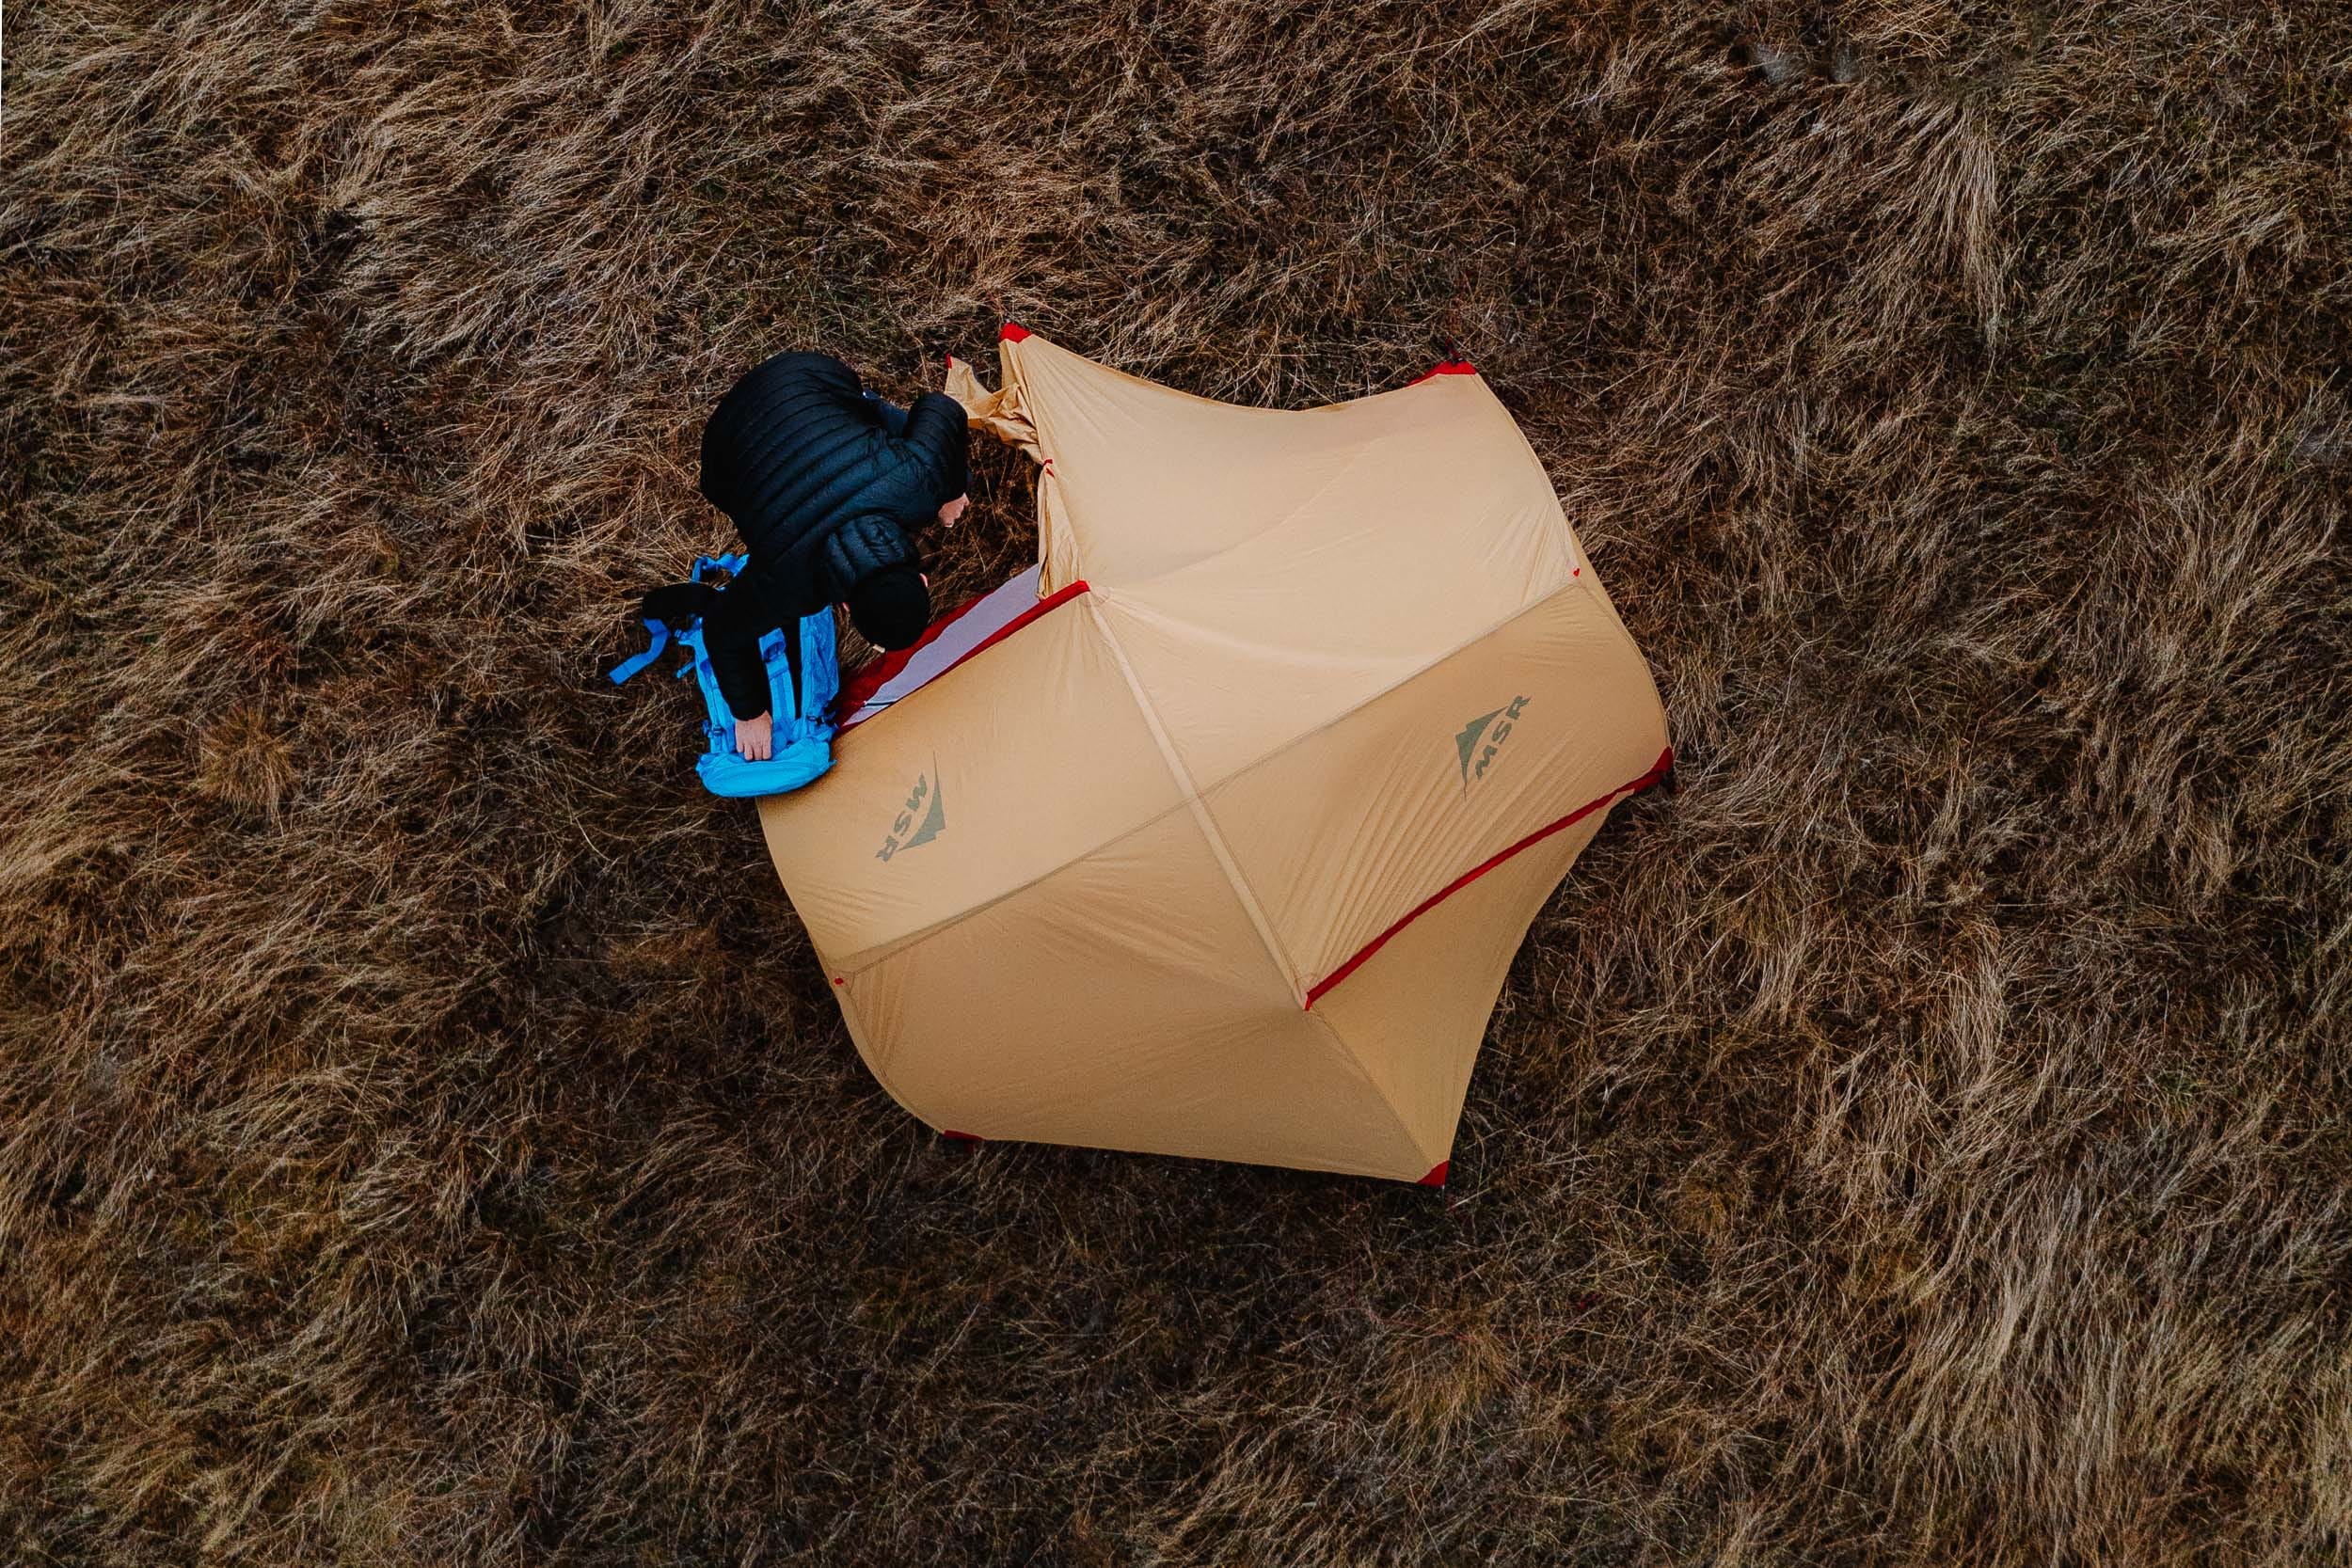
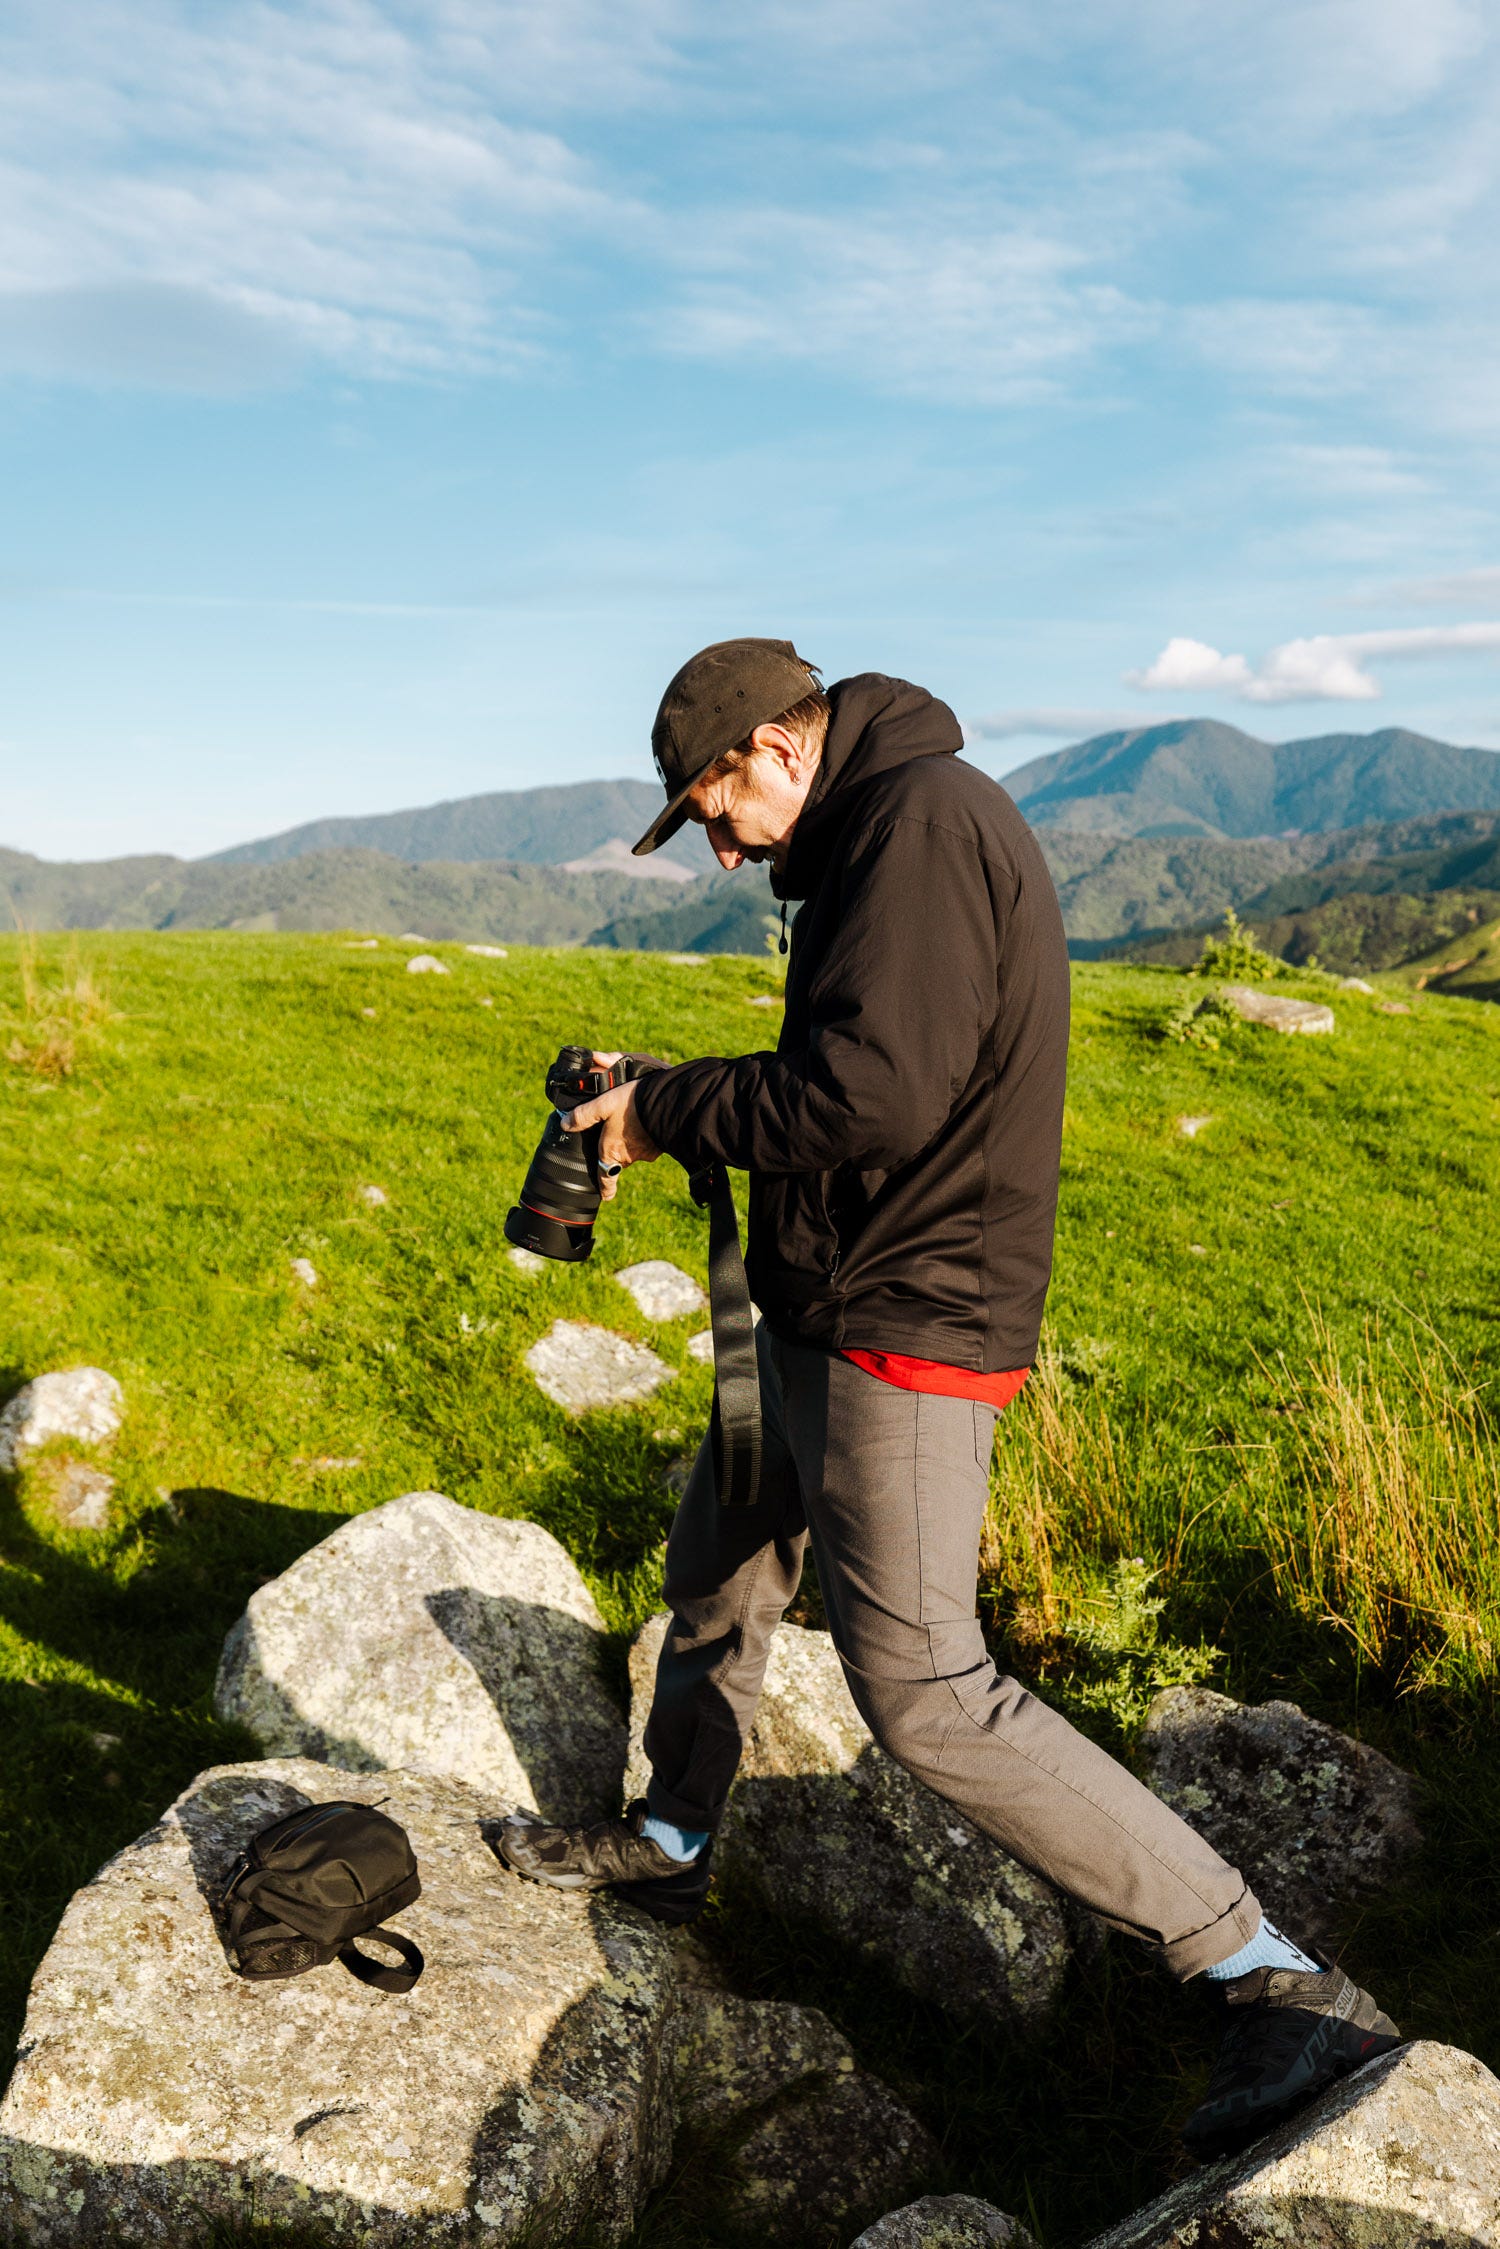
Setting up gear or making coffee
Natural movements related to the activity
Guide your talent away from poses — especially if they aren’t models. The feeling of being comfortable revolves around normalised tasks from A to B versus staring at a camera.
These flow moments connect your blocks and give the final set rhythm.
Final Thought: Pre-Planning Is the Hidden Advantage
In a world full of photographers chasing “bangers,” the ability to pre-visualise and plan a story-driven series is what will separate you from the pack. Clients notice it, and your portfolio will show it.
Your plan might not look like the above, but evolving a plan will get you closer to the images you want to make. Remember: the 70% plan with 30% flexibility — it’s a great ratio for planned creativity.


Thanks for making it this far. Let me know which parts you found useful.
#19 The Framework I Use to Build Photosets